
What’s the Optimal Placement for a Home Theater Projector for Maximum Screen Size?
If you’re planning to build a home theater, a projector is an essential piece of equipment. It can make your movie nights more immersive and enjoyable. But it’s not just about owning a projector; it’s also about where you place it. The placement of your projector plays a crucial role in determining the size and quality of the image on your screen. After all, you want to draw out the best viewing experience from your home theater. So, what’s the optimal placement for a home theater projector for maximum screen size? Let’s find out.
The Role of Throw Distance and Room Size
Before we delve into the nitty-gritty of projector placement, let’s first understand the significance of throw distance and room size.
Additional reading : How to Design a Home Office That Doubles as a Yoga Space?
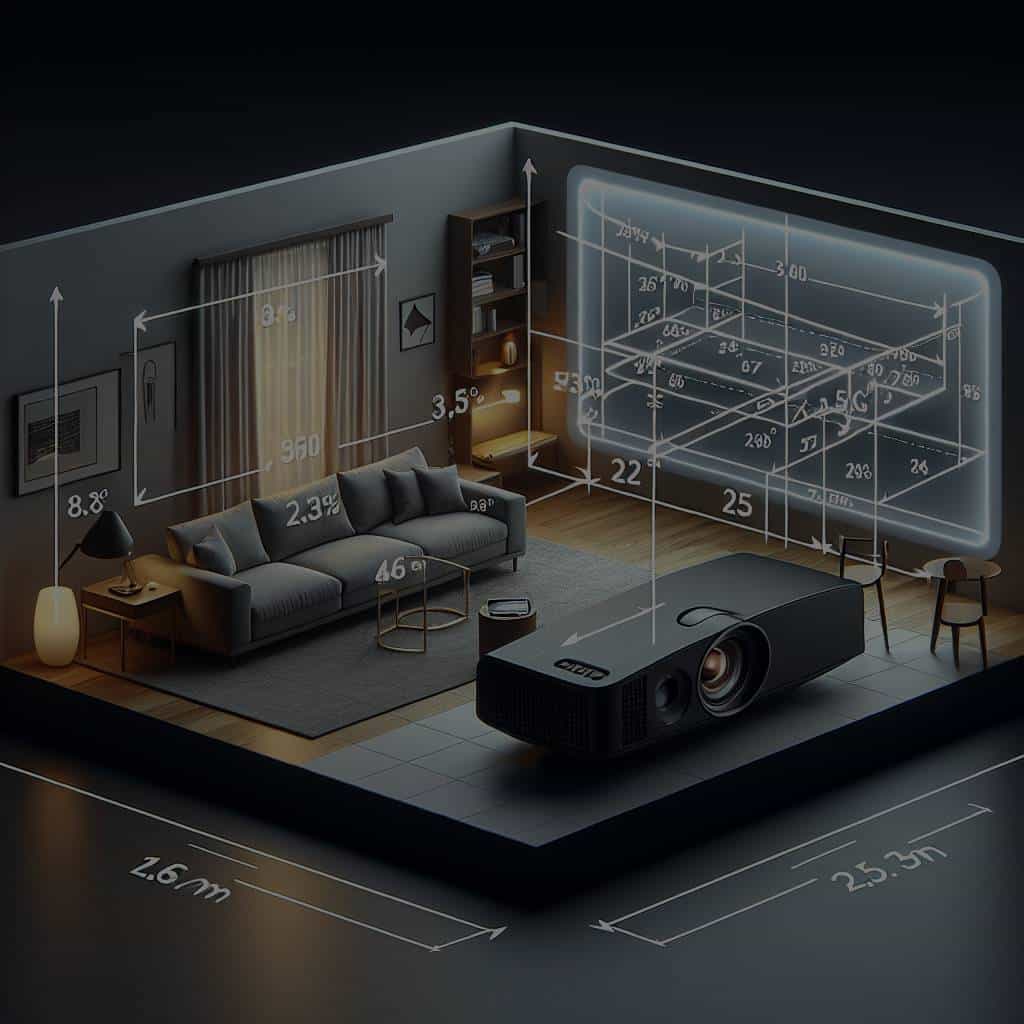
The throw distance is the span between the projector’s lens and the screen. It’s a crucial factor that determines the size of the image on your screen. Most projectors come with a specific throw ratio. This ratio is the relationship between the throw distance and the width of the image. For instance, a projector with a throw ratio of 2:1 will produce a 5-foot wide image when placed 10 feet from the screen.
Your room size also plays an instrumental role in the placement of your projector. If your room is small, you’ll need a short-throw projector. For larger rooms, a long-throw projector might be more suitable. Also, remember to leave enough space for seating and proper ventilation.
Additional reading : How Can You Create an Elegant Tea Room in a Conservatory?
Finding the Right Spot to Mount Your Projector
Mounting your projector in the right spot is crucial for creating a large and clear image on your screen. The best location for your projector will depend on multiple factors including your room size, throw distance, and the projector’s lens shift capability.
If you’re using a ceiling mount, the projector should ideally be placed in the center of your ceiling. This positioning will help you achieve a rectangular image on the screen. For those using a table or shelf, center the projector with the screen. However, take care not to place it too high or too low to avoid distortion.
Furthermore, consider the lens shift feature if your projector has one. Lens shift allows you to move the projected image up, down, left, or right without moving the projector. It gives you more flexibility in terms of projector placement.
Adjusting the Projector for the Maximum Screen Size
Once you’ve found the best spot to mount your projector, the next step is to adjust it for maximum screen size. The first step is to set the projector at the correct distance from the screen based on its throw ratio.
Next, use the zoom feature on your projector to fine-tune the size of the image. If your projector doesn’t have a zoom feature, you’ll have to physically move it closer or further from the screen to adjust the image size.
Also consider the aspect ratio – the ratio of the width of an image to its height. The most common aspect ratio for home theaters is 16:9. Your projector, screen, and source material should all be set to the same aspect ratio to avoid image distortion.
Ensuring Optimal Image Quality
While the size of the image is important, you also want to ensure that the image quality is up to par. Even if your projector is capable of displaying a large image, pushing it to its limits might result in a loss of brightness and sharpness.
To get the best image quality, make sure your room is as dark as possible. Close the curtains, turn off the lights and eliminate any other sources of light that might interfere with the image projection. Additionally, consider investing in a high-quality projector screen that can enhance the brightness, color, and overall image quality.
Setting up a home theater projector might seem like a daunting task, especially when you’re trying to maximize the screen size. However, with a thorough understanding of your projector’s features, and careful planning and adjustment, you can achieve an optimal viewing experience. Remember, the end goal is not just size but also image quality. So, take your time to find the perfect balance that suits your home theater best.
While we have provided a general guide, the best placement for your projector will also depend on its specific features and specifications. Therefore, always refer to the user manual or consult with a home theater installation professional for personalized advice.
Exploring Projector Features for Better Placement
To optimize the screen size in your home theater, it’s crucial to understand various projector features that can influence the projected image. One such feature is keystone correction which helps adjust the image in case it’s not perfectly square. Keystone correction modifies the output image, making it rectangular and hence, more suitable for viewing. This feature is particularly useful if you cannot place the projector directly in front of the screen.
Another pivotal feature is the lens shift. As discussed earlier, lens shift allows you to move the projected image up, down, left, or right without physically moving the projector itself. It’s a great tool for perfecting the placement of the image on the screen.
For those with limited space in their home theater, a short throw or ultra short throw projector might be the solution. These projectors can project large images from a short distance, making them ideal for small rooms. They allow you to enjoy a big screen experience without needing a large distance between the projector and the screen.
On the other hand, laser projectors can provide a high-quality image from a considerable distance. They are known for their brightness and sharpness, which makes them an ideal choice for large home theaters.
Conclusion: Balancing Placement and Design for Optimal Viewing
After considering the throw distance, the projector’s features, and the room size, you should be able to find the optimal placement for your home theater projector for maximum screen size. A properly placed projector can not only enhance your viewing experience but also contribute to a better overall theater design.
When mounting the projector, ensure that it aligns with the center of the screen. This will provide a uniform viewing distance and prevent image distortion. Also, factor in the throw ratio to determine the ideal distance between the projector and the screen.
In addition to these, remember to adjust the keystone correction and employ the lens shift feature to fine-tune the projected image. Depending on your room size and your viewing preference, you might want to consider a short throw or a laser projector.
Lastly, don’t forget the importance of a high-quality projector screen. It can significantly improve the brightness and color of the projected image, enhancing your viewing experience.
While setting up a home theater projector might seem complex, the effort is worth it. With careful planning and adjustment, you can achieve an immersive movie-watching experience in the comfort of your home. Just remember, the optimal placement for your projector not only maximizes the screen size but also ensures a high-quality image for a satisfying viewing experience. Always refer to the user manual or consult a professional for advice tailored to your specific projector and home theater setup.